Controlling Fermentation With BrewPiLess & iSpindel
You'll often hear that controlling fermentation temperatures is one of the biggest things you can do to improve your beer. I can say that since I built something to help keep fermentation within a very narrow (+/- 1c) band, the beer has been really good. At least judging by how many bottles got opened when friends came around.
The actual setup to do this is a different topic, but it requires three main components; cooling, heating, and a temperature sensor. In order to control it, something needs to actively measure the temperature and decide that the fermenting beer must be either chilled or heated to keep it at the temperature you set.
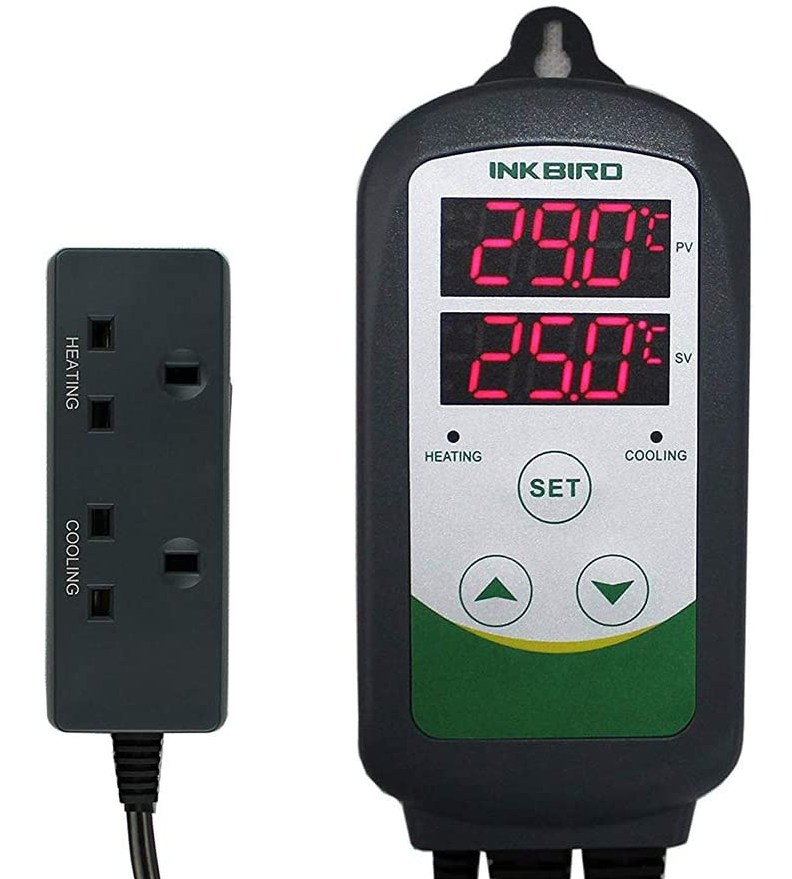
Inkbird - Easy, but basic
In order to do this, you can use something like an 'Inkbird' that simply has two plugs in it where you plug in heating and cooling. However it doesn't let you set a schedule to ramp up temperatures over time. You're forced to do this manually. In many great recipes, like the excellent ones from Candi Syrup, you'll see fermentation schedules that ask you to ramp up temperatures over a period of days. Having a system that lets you set a predefined temperature schedule during the whole fermentation really helps you keep things exactly as you want them. Also, I wanted to see the beer's progress in a pretty graph that I could stare at as fermentation progressed. Which you're really never going to get on the 'Inkbird'.
"Smart" fermentation control options
With the above in mind, I did some research and found a couple options.
BrewPi - Just buy it
The first one, the BrewPi was created a few years ago and has developed into a full product, including all the required pieces you might need to create a fully electronically controlled brewery, including the brewing process. Not just fermentation. Okay, that's a bit much for me.
Fermentrack - For controlling a fleet
The second, was much closer to my needs and that's a very cool project called Fermentrack. This very interesting project uses a raspberry pi to host a web server that controls ESP8266s which in turn control fermentation chambers. This system permits you to use one of these low cost ESP8266's per fermentation chamber you want to control. The interface is accessed from your web browser, runs on your pi and uses your home network to push instructions to the micro-controllers. Since each controller has its instructions sent to it, in the case that your loose WiFi or your raspberry pi is turned off for some reason, those ESP's just keep doing what they've been told to do. Now this is very very cool, but it means that if you want to use your pi for anything else, it's somewhat tied up with the process of running your fermentors. Which, honestly for a device with that much power is quite trivial.
BrewPiLess - Cheap and great for just one chamber
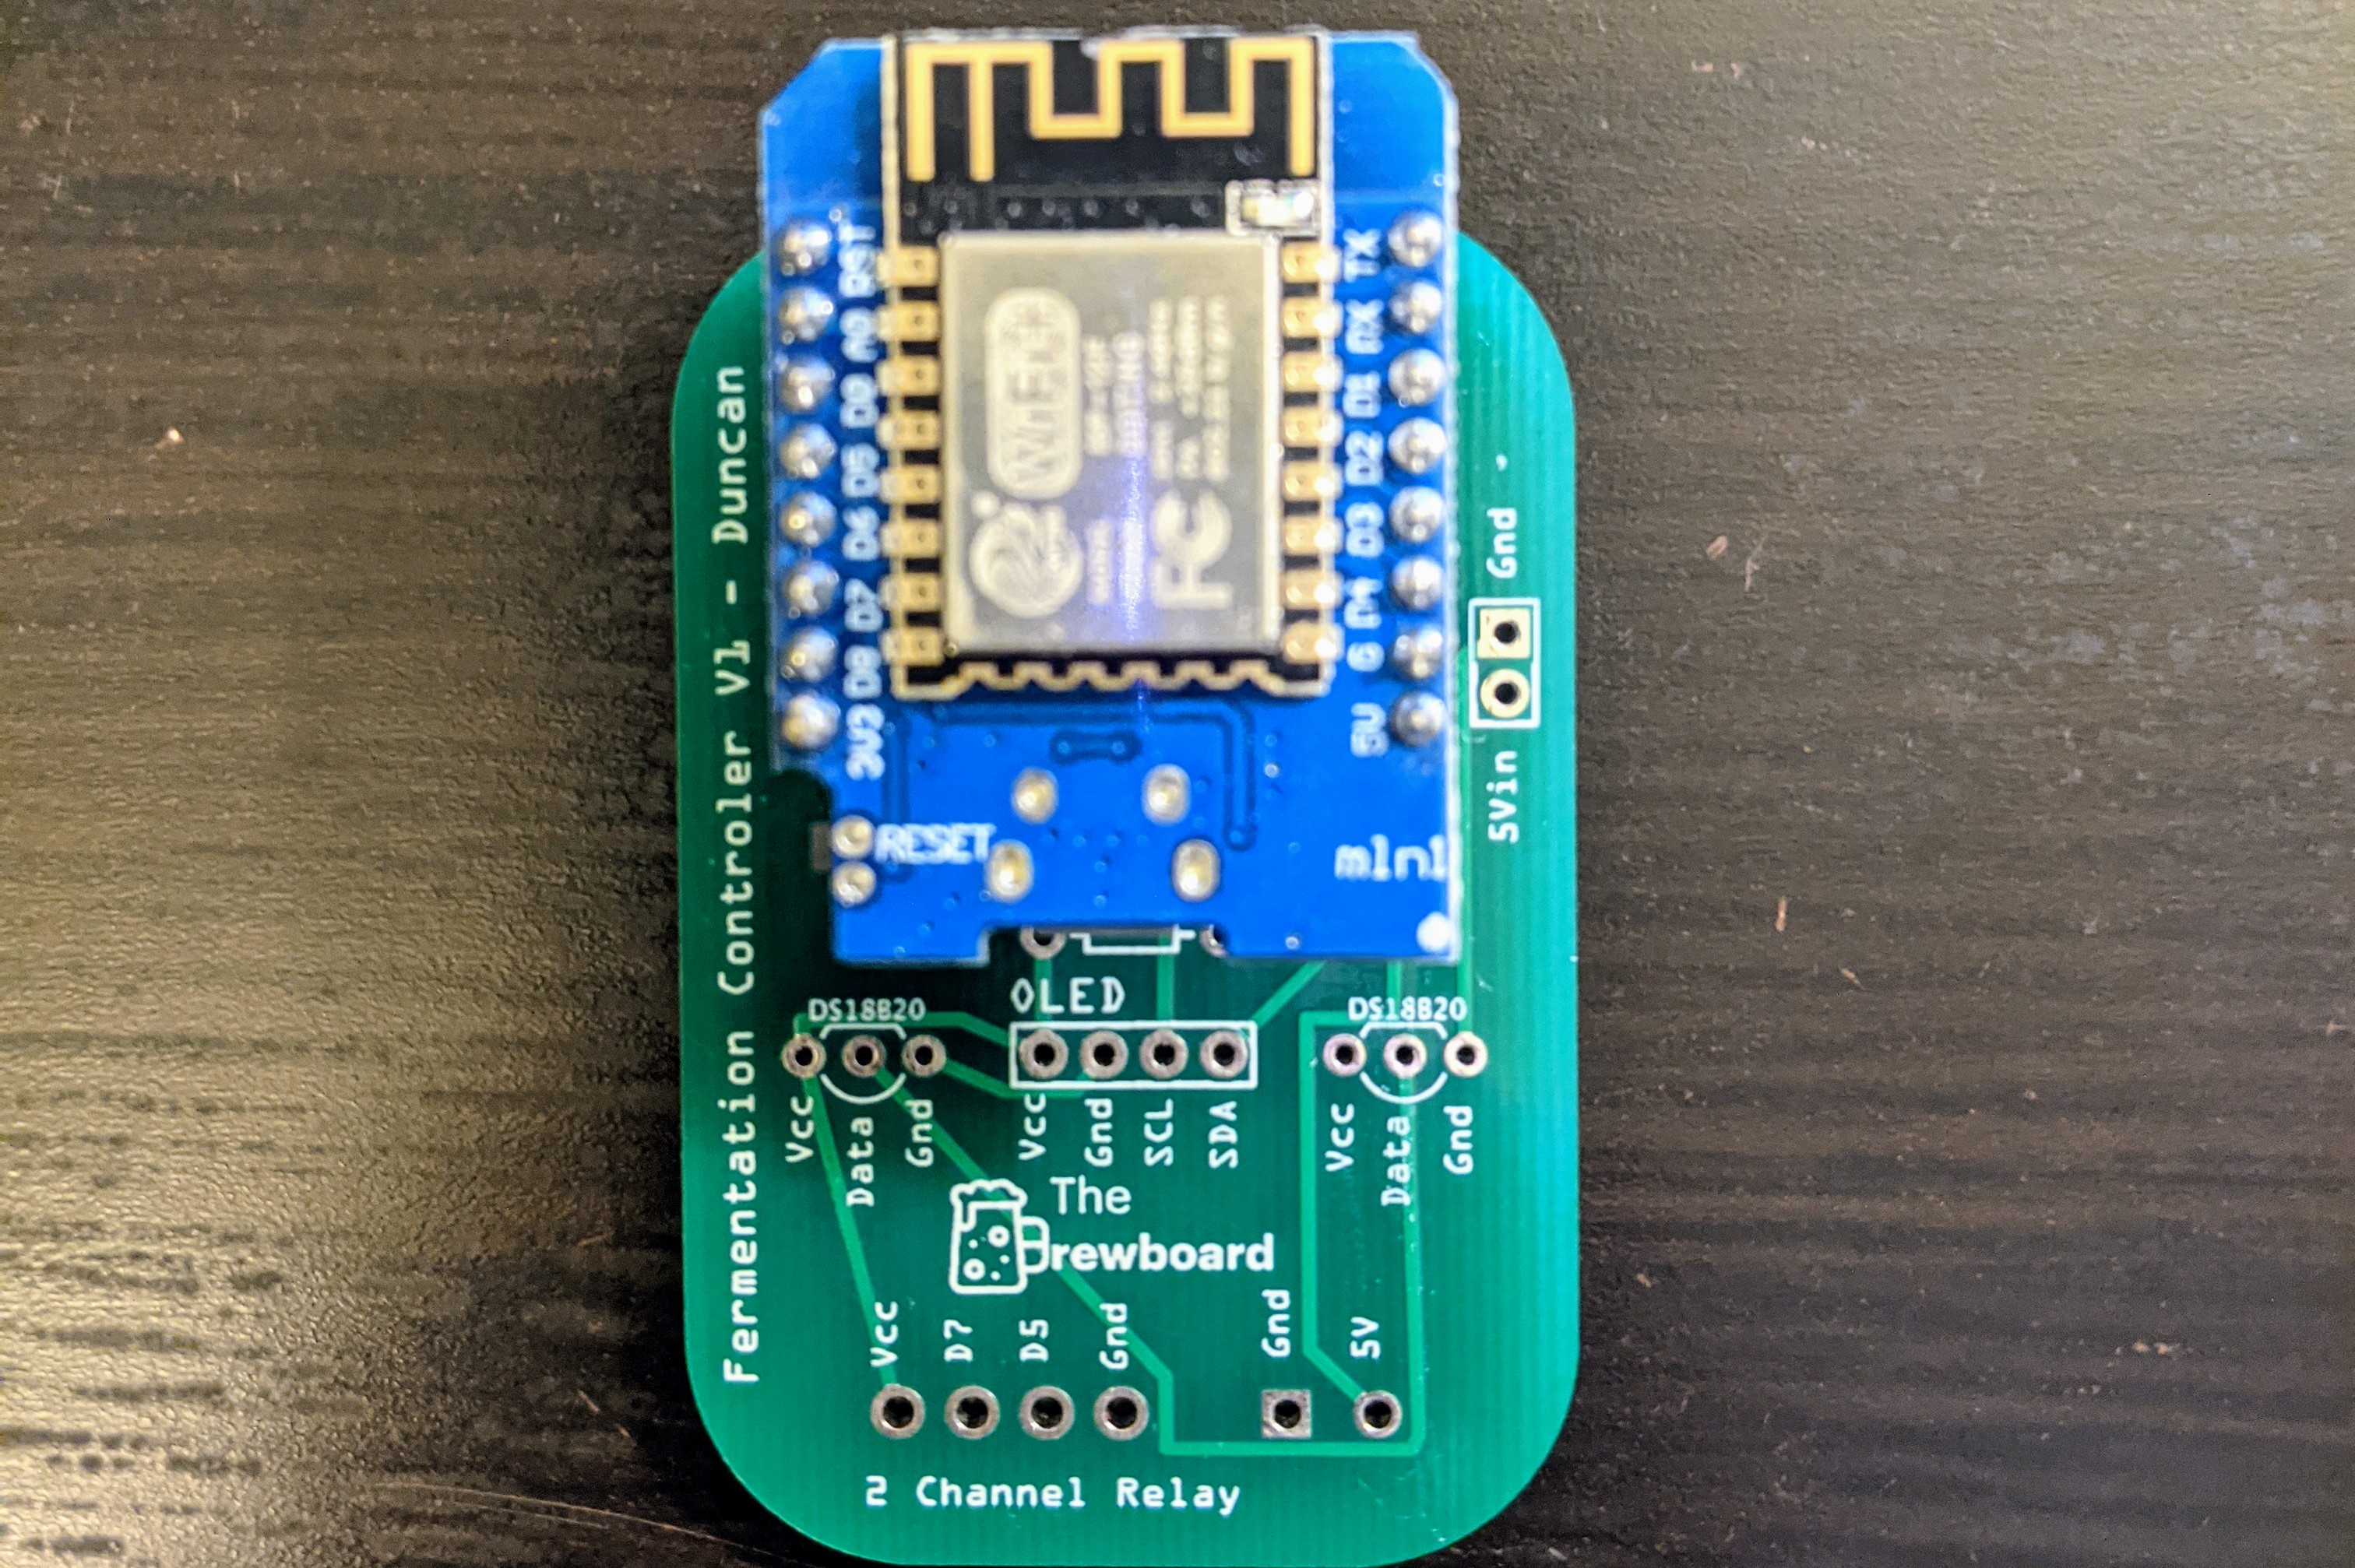
So, that led me to BrewPiLess. You see, the ESP8266, which fermentrack supports, and the newer more powerful ESP32, which fermentrack does not support, both have WiFi built into them. They've got on-board flash memory, and they can be programmed to create a tiny web server that can be interacted with in a browser. So given that, the author of this project, Vitotai, thought why bother with the rest, the whole thing can be run on the micro-controller itself. This means in terms of electronics, you only need an incredibly low cost (as in £1 to £3 depending on the retailer) controller. He recommended the Wemos d1 mini ESP8266 since it has 4mb of flash for storing everything.
I personally have some experience working with micro-controllers and wanted to take the opportunity to learn something so I decided to get Visual Studio Code set up to build the source-code and flash it directly to the board using the PlatformIO Extension. Vitotai does provide compiled binaries for each of the compatible board targets but I found it very helpful to be able to be able to make changes to the settings in the source code.
Once you have the board running your software, you need to give it the required inputs and outputs to read temperature and control mains power. There's a number of tutorials to handle this with US power plugs but I couldn't find something like this for UK power. So in the end I connected a pair of electromechanical relays to a UK socket inside a 3d printed enclosure. One of the sockets for heating and one of the sockets for cooling. Given that only one of the two appliances can be running at a given time, this was powered by just one socket from the wall with a 10 amp fuse.
I will admit, getting BrewPiLess set up was not a simple process for me, I found it took a bit of digging to understand and get running. However I was able to get a prototype running with a breadboard and two temperature sensors.
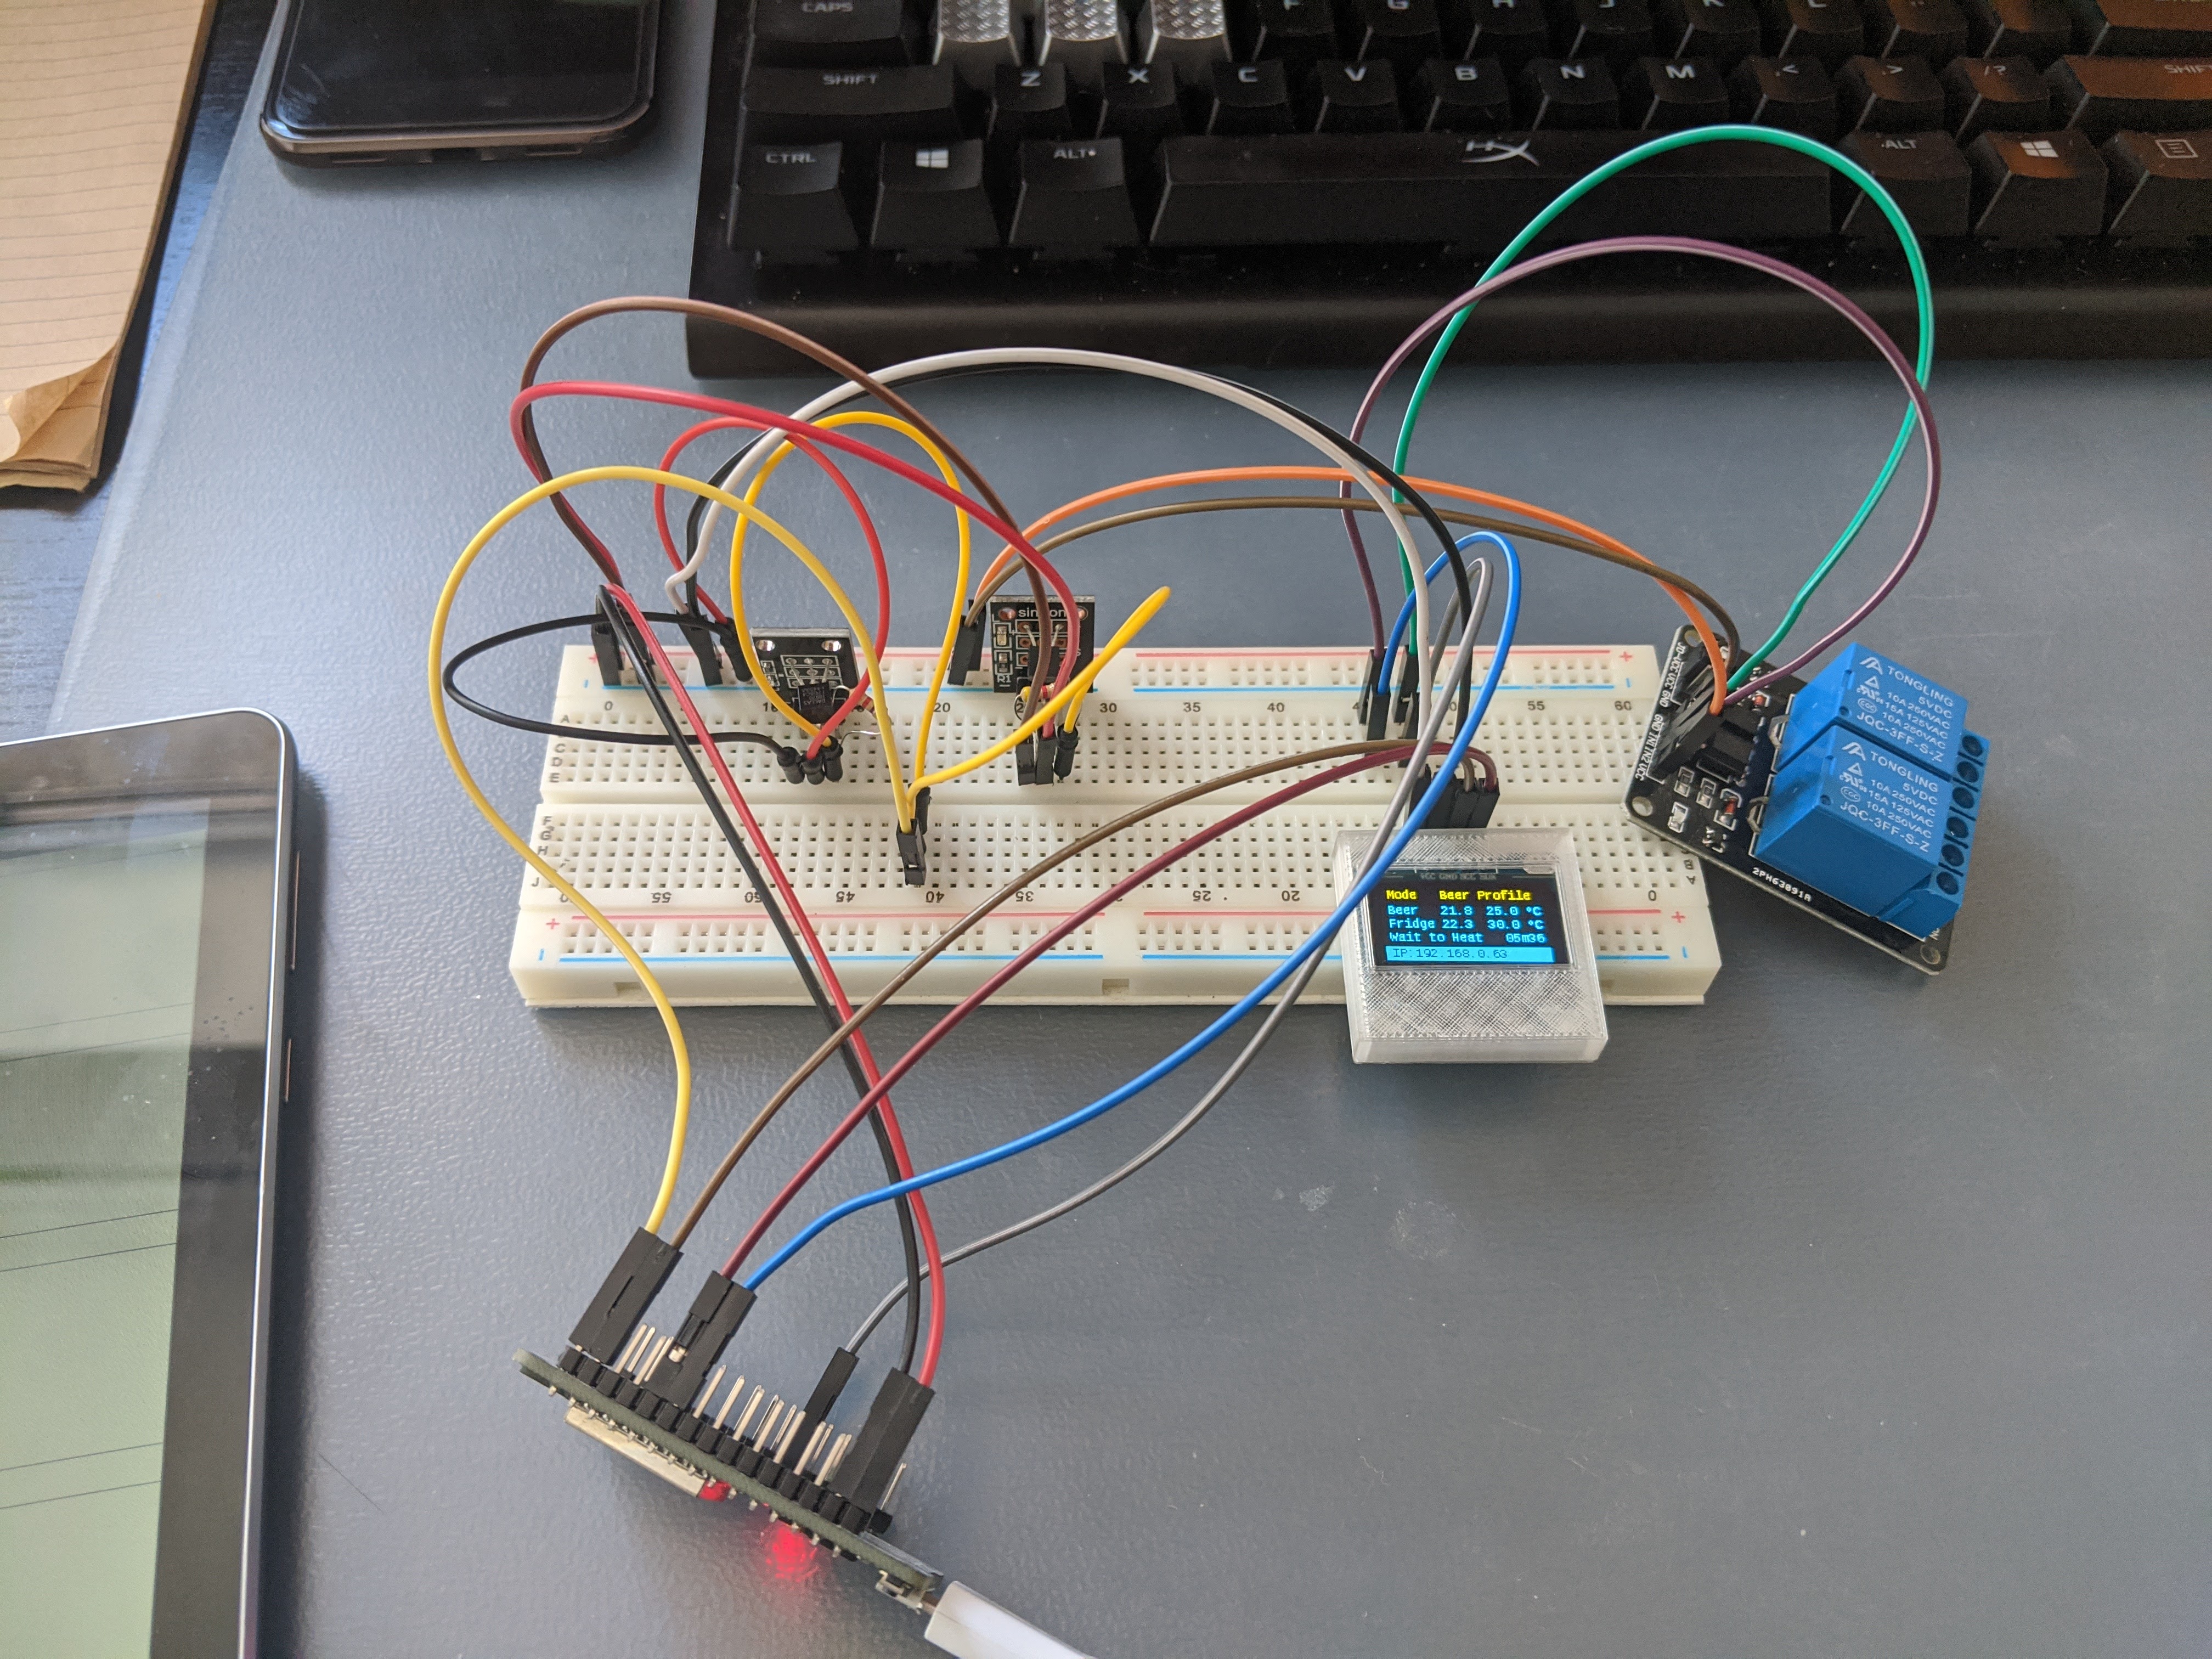
Once this was running I took it over to a the fridge setup I'd created and made a beer. It's absolutely been the best beer I've ever made.
Getting this set up is a different topic that I'll cover in my next post. However if you're looking for a WiFi controlled open-source tool to handle fermentation, check out BrewPiLess.