Set up BrewPiLess Temperature Control Profile
Now that you've got your BrewPiLess set up, the next thing to understand is how to set a 'Beer Profile'. This is the main reason why working with a smart system like the BrewPiLess is worth doing. The 'Beer Profile' allows you to set a temperature schedule with different temperatures and transitions that your fermentation chamber will try to keep your beer at over time. For example you'll see instructions such as 'chill to 18c and then ramp to 22c over the course of 5 days'. BrewPiLess lets you set this ramping activity and takes care of the rest. Let's take a look at how to do this inside the system.
If you haven't already gotten your ESP8266 or ESP32 set up and flashed, just check out my previous post.
Access the web interface
To get started you're going to need to access the web interface for your BrewPiLess from a web browser. There are a couple ways you can do this.
- Connect to the 'BrewPiLess' wifi network that the device creates
- If you have connected your BrewPiLess to your wifi router, navigate to it's local IP address.
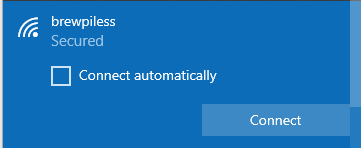
The first situation is probably the easiest if you're just getting started. When you first plug in the device you'll find that it begins broadcasting a wifi network that is named brewpiless. By default the password to this network is... wait for it... 'brewpiless'. In fact anywhere in the interface if you're asked for a user name and password combination, unless you change it, just enter brewpiless for both password and user.
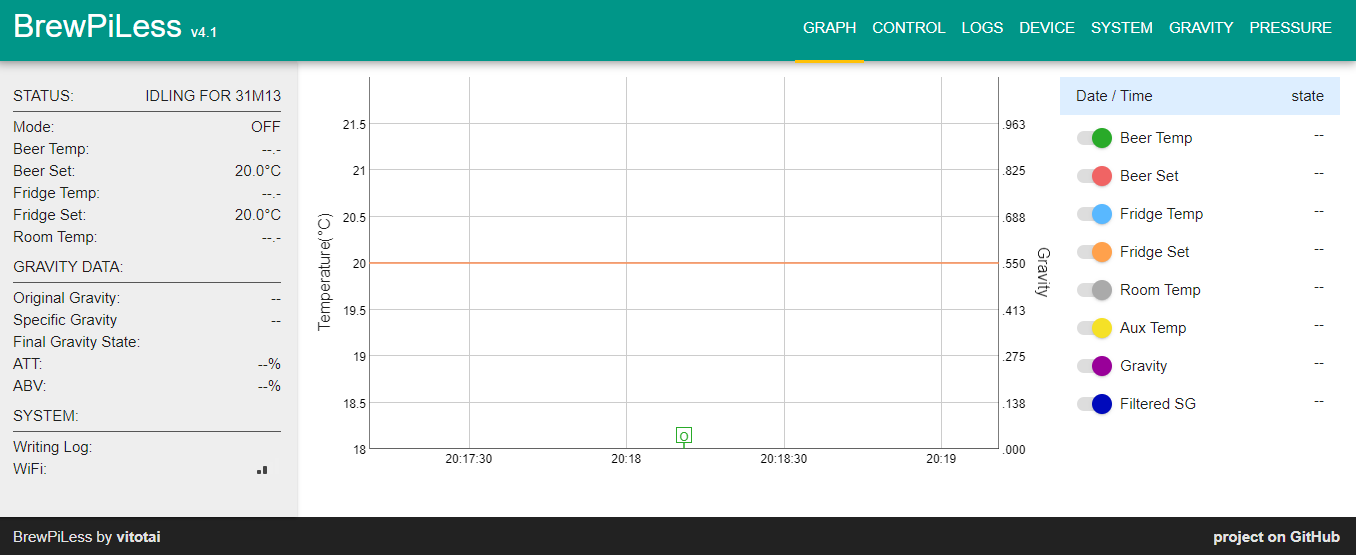
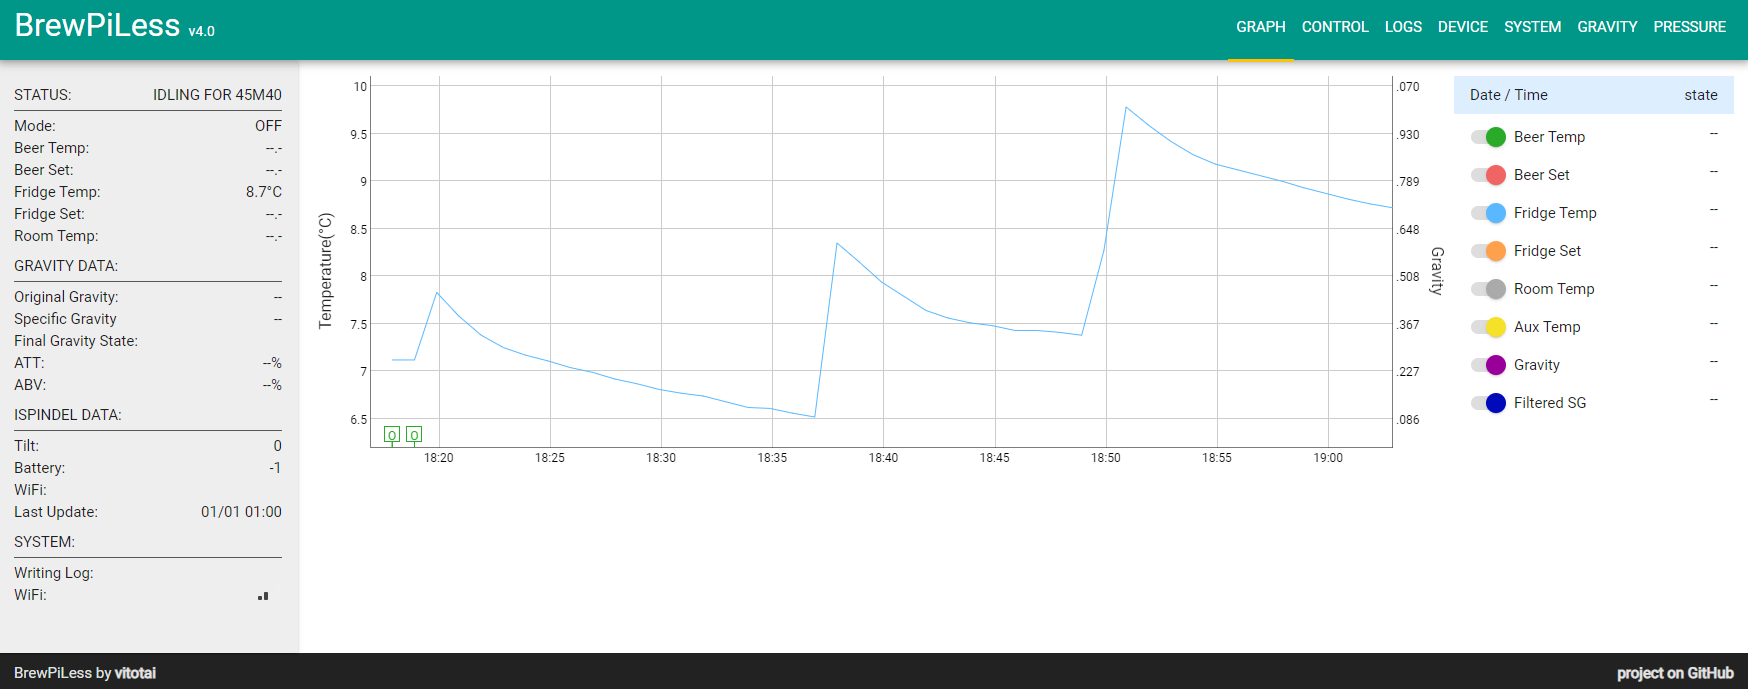
Once you've connected in to this wifi network, go to any web browser and enter 192.168.4.1. This will bring up the main screen. It should look like this:
If you have already added your BrewPiLess to your home wifi, then you'll want to enter its unique IP address in your browser instead. You'll likely need to identify this by checking in the settings of your Router.
Go to the "Control" Tab
In the top right hand side of the screen you'll have 'Control' link. Click that and you'll be taken to the temperature control screen. I'll quickly go over the two simpler options first.
Beer Const
To function most effectively, the system should have access to two temperature probes. One that measures the temperature of the beer and one that measures the temperature of the refrigerator / chamber that the beer is in.
By choosing 'Beer Const' and setting a temperature, you'll set the temperature you want BrewPiLess to keep the beer at consistently. Once you've chosen a temperature click 'Apply' in the top right, and the device will get to work keeping your beer (as measured by the beer sensor), at this temperature.
Fridge Const
This one works just like the above, but instead of trying to keep the beer sensor constant, It will instead try to keep the whole chamber, as measured by your fridge sensor, at the temperature you set.
If you plan to do this, you need to be aware of how you're heating the chamber. Some people use an incandescent lightbulb in a can. In that case you're actively heating the air in the chamber and this will be fine.
However, I use a brew belt, a device stuck to the fermentation vessel. This will not heat the air effectively at all, making fridge constant almost useless. So this feature will depend heavily on how you've set up your heating and cooling options.
This would likely be ideal if you're working with a large cooler, handling multiple fermenters that you want at the same temperature, and you have a heater that can handle this.
Beer Profile
This is the good stuff. On this page you'll start working with the beer profile to create a temperature profile.
Let's work with an example to show how this is done. I want my beer to start at 18c and over the course of a week rise to 22c. Then I want it to hold there for 7 days. Then I'll cold crash it to 10c for a day before bottling.
So first thing, add a line by pressing the 'Add' button
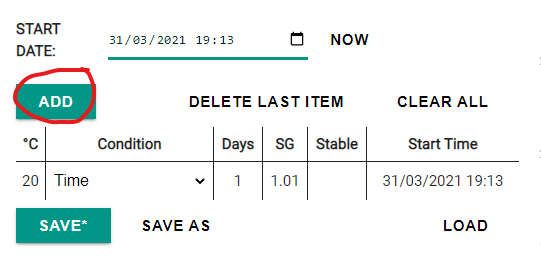
And enter the starting temperature you expect your wort at. Now click 'Add' again. This will now add 2 lines.
Every time you add another line on this profile it will create a 'ramp' between the two lines. This gives you the ability to control how long it takes to get from temperature A to B. So in our example we want 7 days between 18 and 22 degrees Celsius.
Then the next change I want after it reaches 22c is for it to drop to 10c 7 days later. However I want that drop to be instant. As soon as 7 days is reached drop it, no waiting.
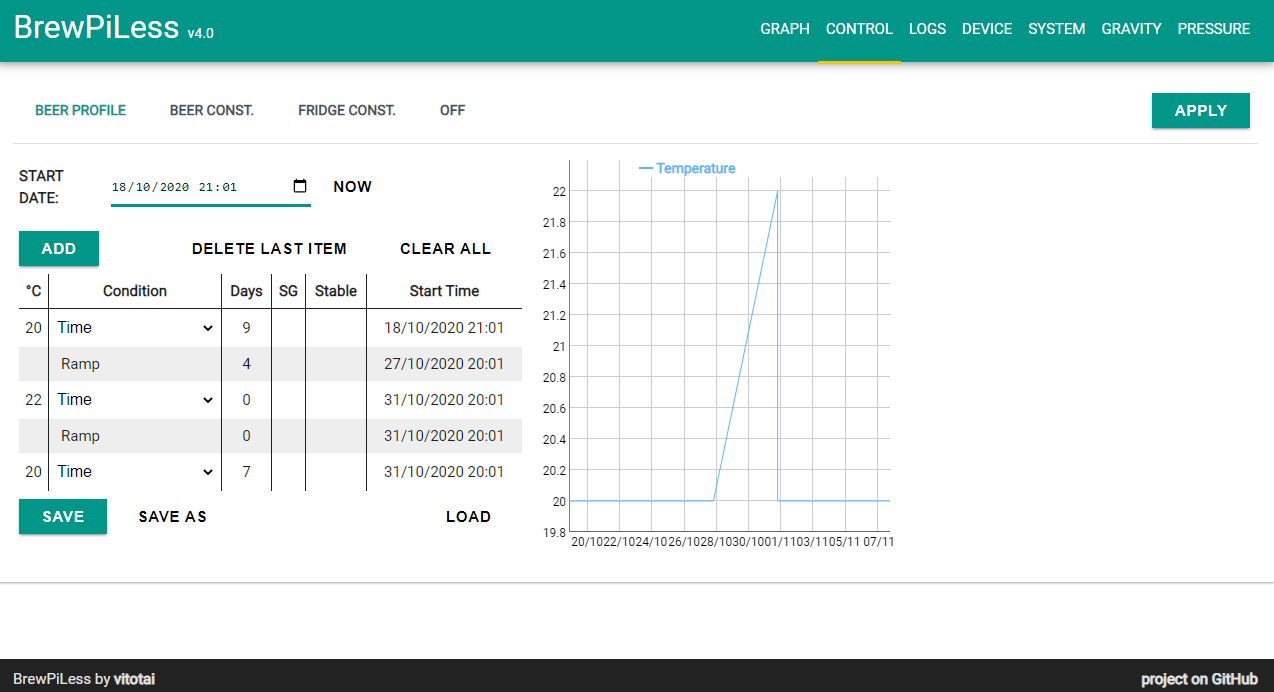
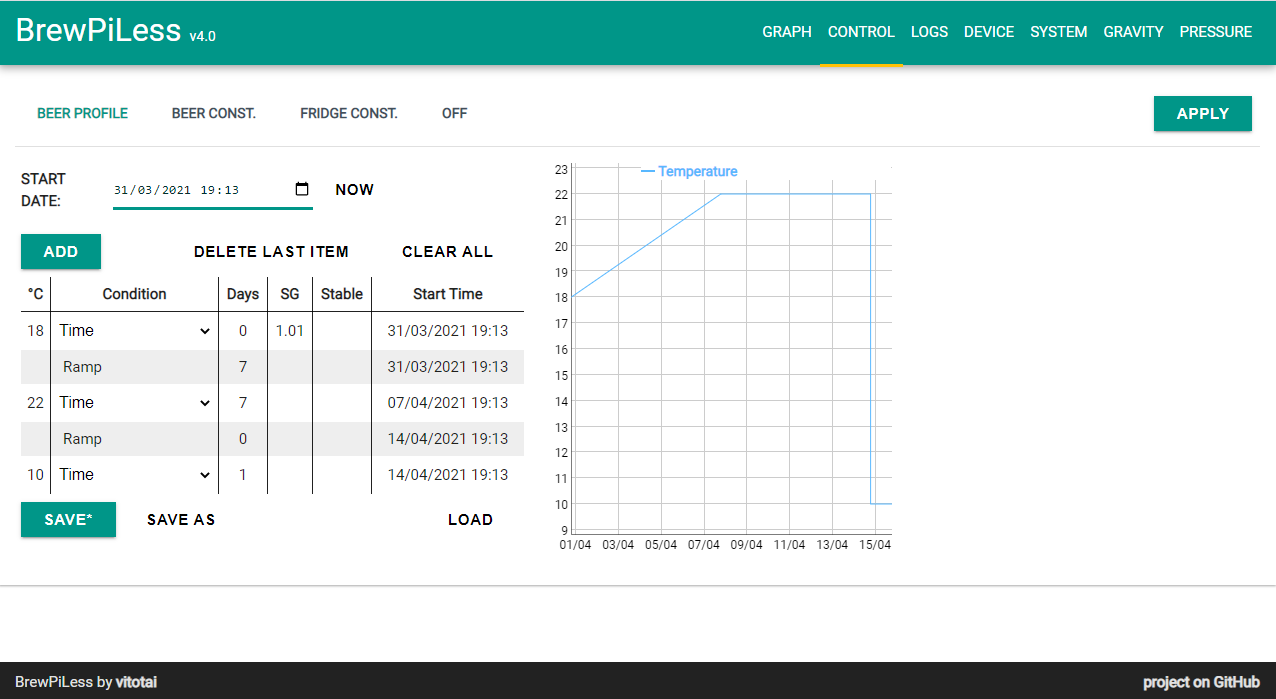
So to achieve this. I set the ramp from 18 to 22 to 7 days, and then the duration of 22 to 7 days as well. I add another step and set it 10 degrees, but the ramp between 22 and 10 is set to 0 days. Then I set 10 degrees to hold for 1 day. Though it will stay here indefinitely until I tell it to do anything else as it's the last instruction.
As you do this, it will also show you a graph of what those temperatures will look like over time. If you're doing what I'm doing, you'll see this:
Don't forget to click 'save' to store your profile to the chip.
When you're ready to let this profile start, you first need to click the 'NOW' beside the start date section. This indicates the time and date that the profile will begin. Don't forget to do this if you set up your temperature profile yesterday, but your beer was only ready today. If you do that, the system would think it's on it's second day of fermentation.
Once you've got the the date and time you wish to start at set, simply click Apply in the top right and the BrewPiLess will keep the temperature of your beer at the level you've defined!
Conclusion
That's it! Really not too much to it if you look at it. You define the temperatures you want, how long to hold them and how long you want it to take to go between them! Once you have this set up, you're going to see that the beer you're making tastes a lot better. Also, you'll notice that if you use profiles like this, repeatability will significantly increase as well. Meaning if you brewed a dubbel you really loved last year, by using the same fermentation profile, you're very likely to be able to produce that same delicious brew!
Brew on everyone!